This article is about my timeline on this project, it’s a little long but will eventually have links to more specific articles.
First phase, being curious, how I started.
Once I brought some extra equipment to my band rehearsal, condenser microphones pair and stand, sound interface and computer. The intention was to try applying some filters to help amplifying the vibraphone and hoping to add some nice effects to the vibes…
… the result was an echo of each snare-drum hit, due to latency – the time it takes the computer to calculate changes in the audio signal and resend it.
That’s when it became clear that I really wanted to go PIEZO !
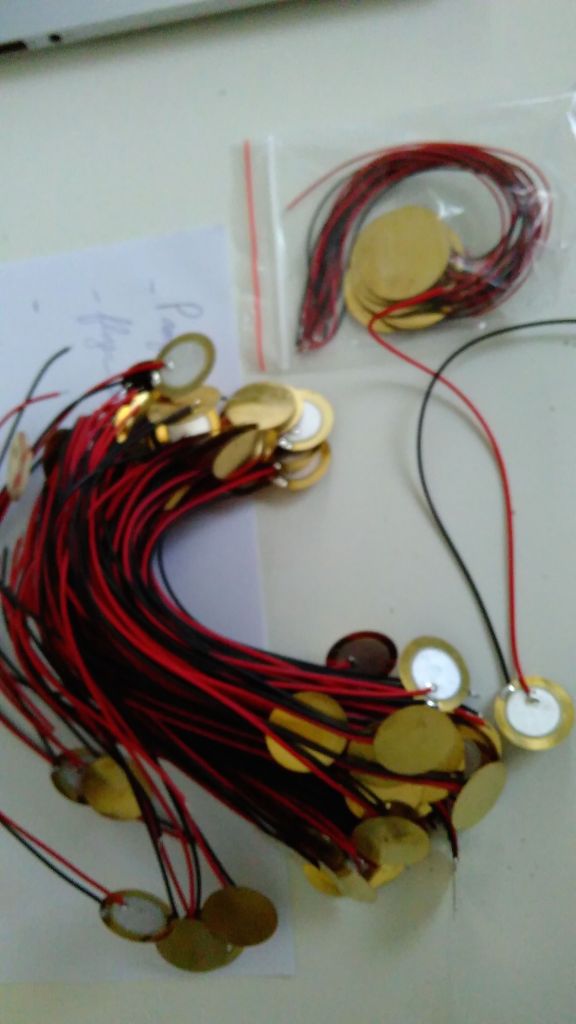
I knew it existed from three makers: K&Ksound, Malletech and VanderPlas (website offiline), and had seen it working in real life a few times. I consulted my super-electronics-mentor-neighbourgh-and-friend who advised to get some transducers (that’s how piezo pick-ups are called in electronicsian language). Which I did in october 2018.
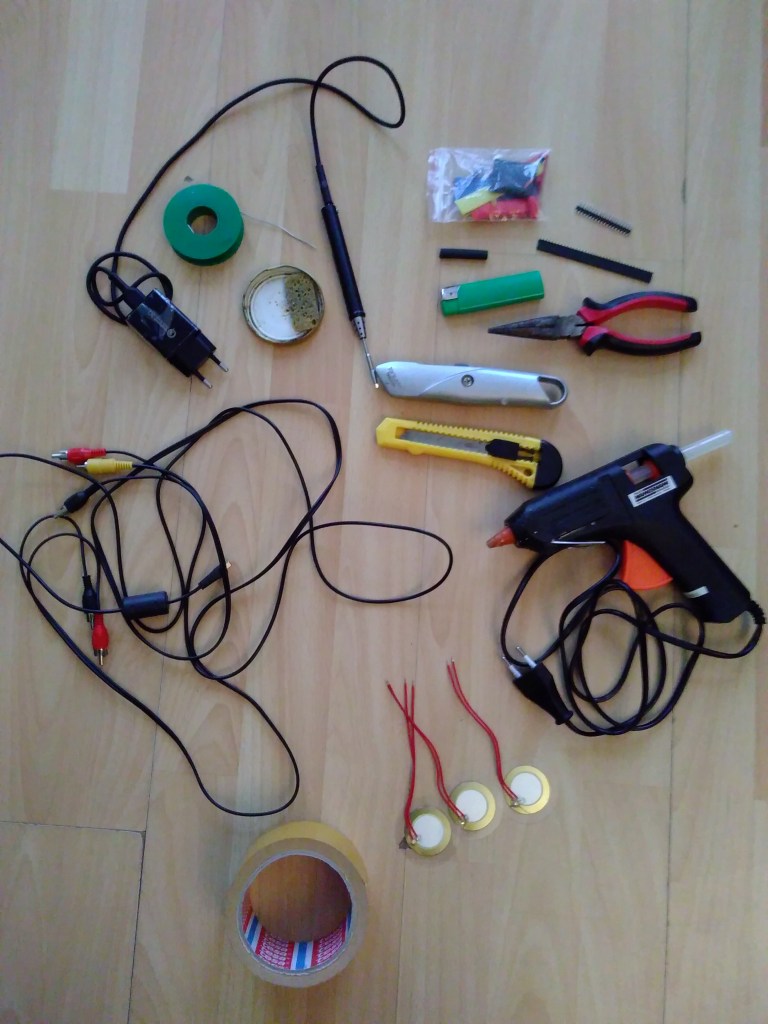
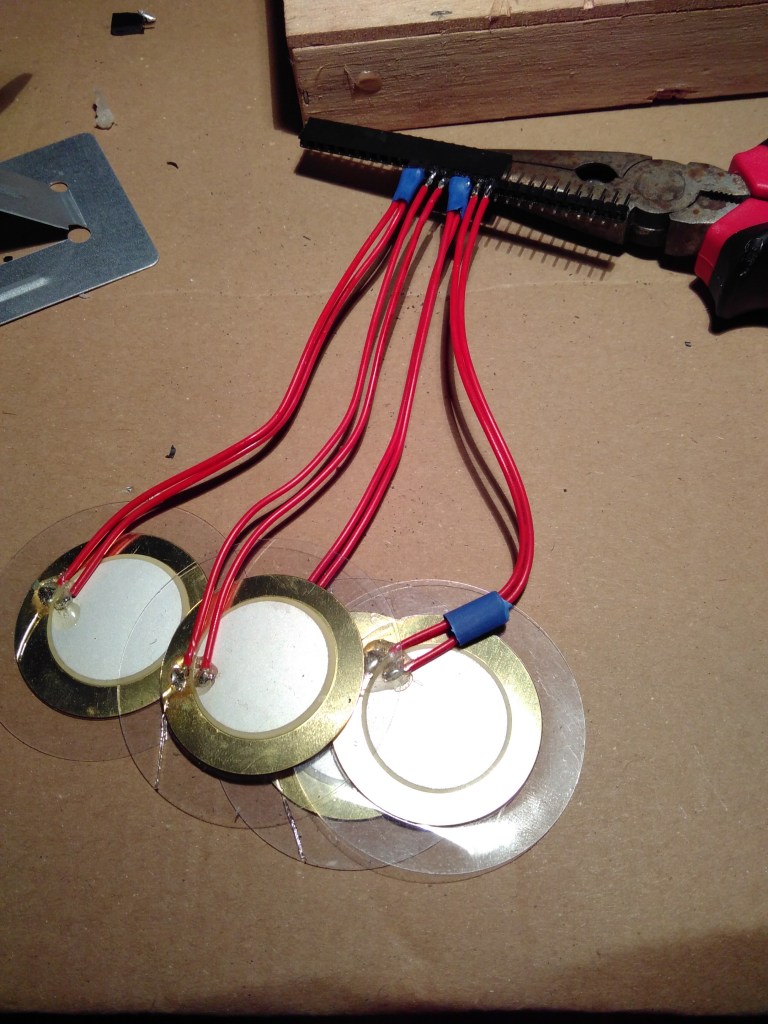
I then got started with version 1 of the system.
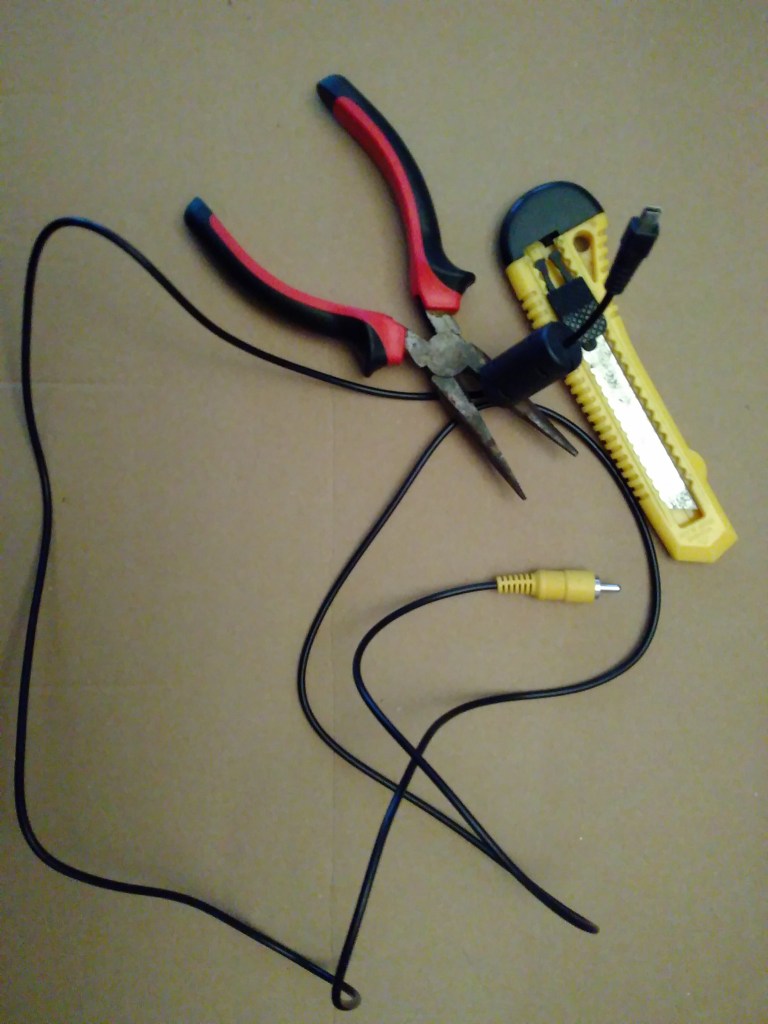
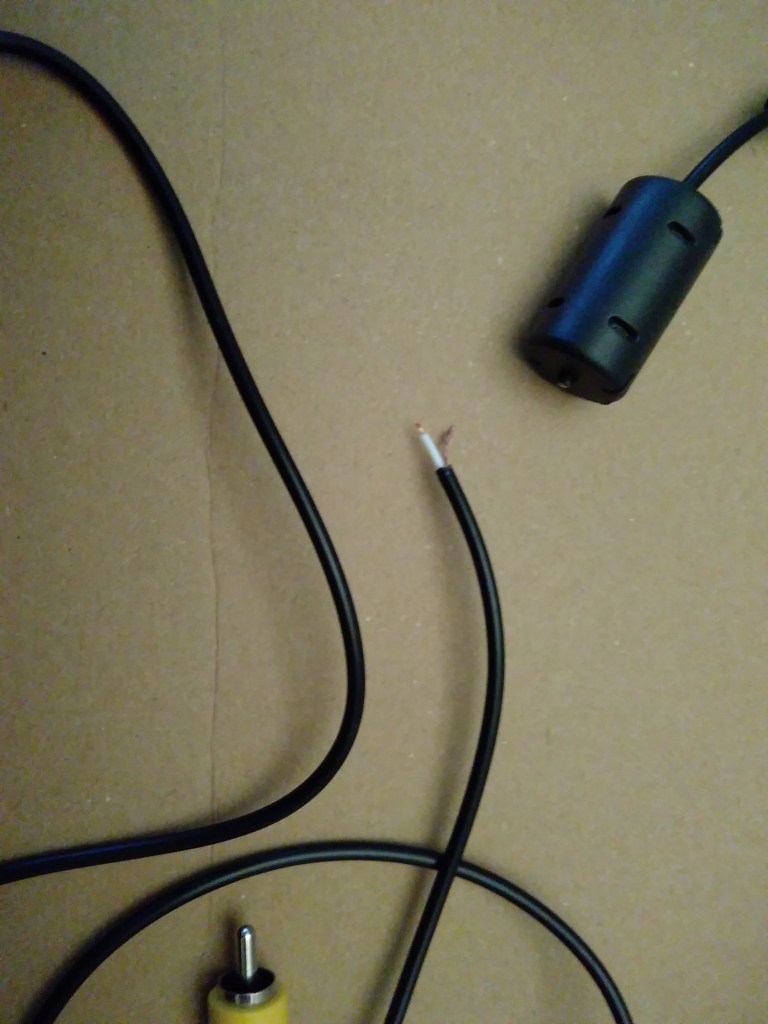
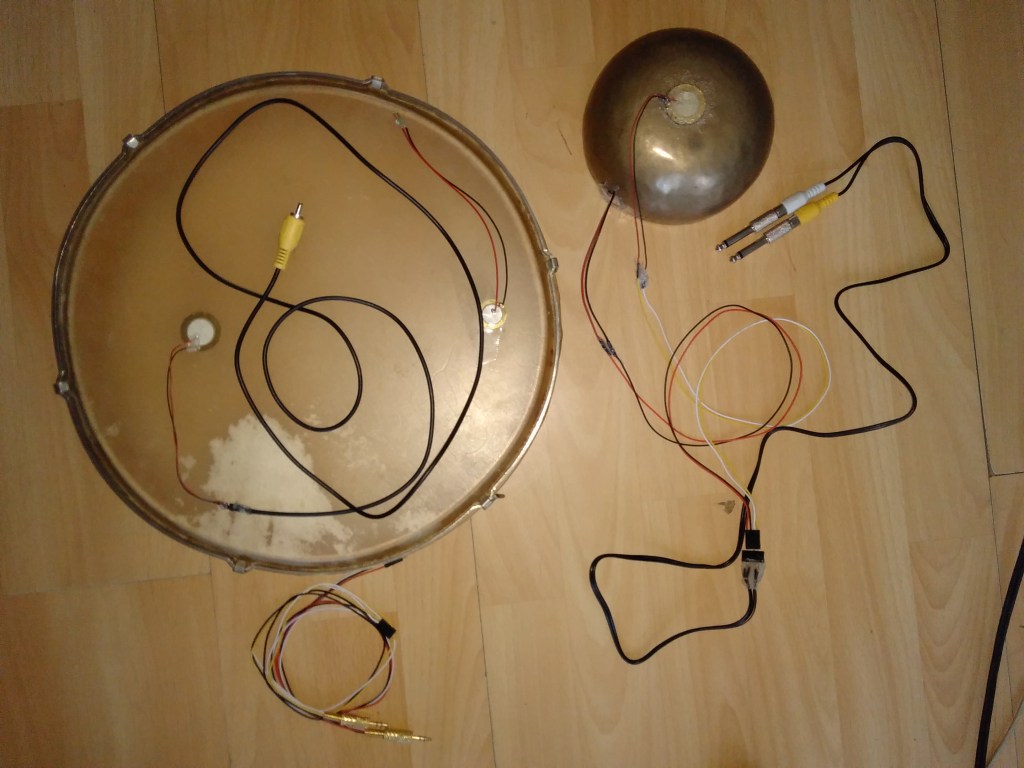
Piezo discs of 20mm, breadboard and Dupont connectors, an old RCA cable, and I could plug it into my mixer.

Here, one day, will come a link to the instructions how to make this
Sticking
My first technique to fix a piezo to a vibraphone bar was with contact glue. It worked, but it was difficult to remove or replace them without breaking the crystal inside (which results in a horrible ghost shout when it reaches your speakers). Also, when the glue wasn’t spread evenly, the things detached after just a few hits.
So I gave up with contact glue, and ordered a hot glue pistol. This worked very well as soon as I found out the right amount to use and the right speed so the glue wouldn’t solidify too soon. I also used it for fixing where the wires attach to the discs so they wouldn’t break – as most of them did with the set of keys I pack and unpack every week on the first set I stuck.
I have also been using two different kinds of double sided tape, one of which seems to hold quite good over playing time, but I haven’t packed and unpacked my keys enough times yet to see how they would resist a transport.


I didn’t find the audio files of these days because the memory it was on is now in deep sleep.
But trust me…
… it worked! … and probably also broke my audio interface a little, probably because I didn’t use a preamp.
The research and study about how to use the Behringer X-Air 12 will be detailed more in another article
Second phase, getting more serious!
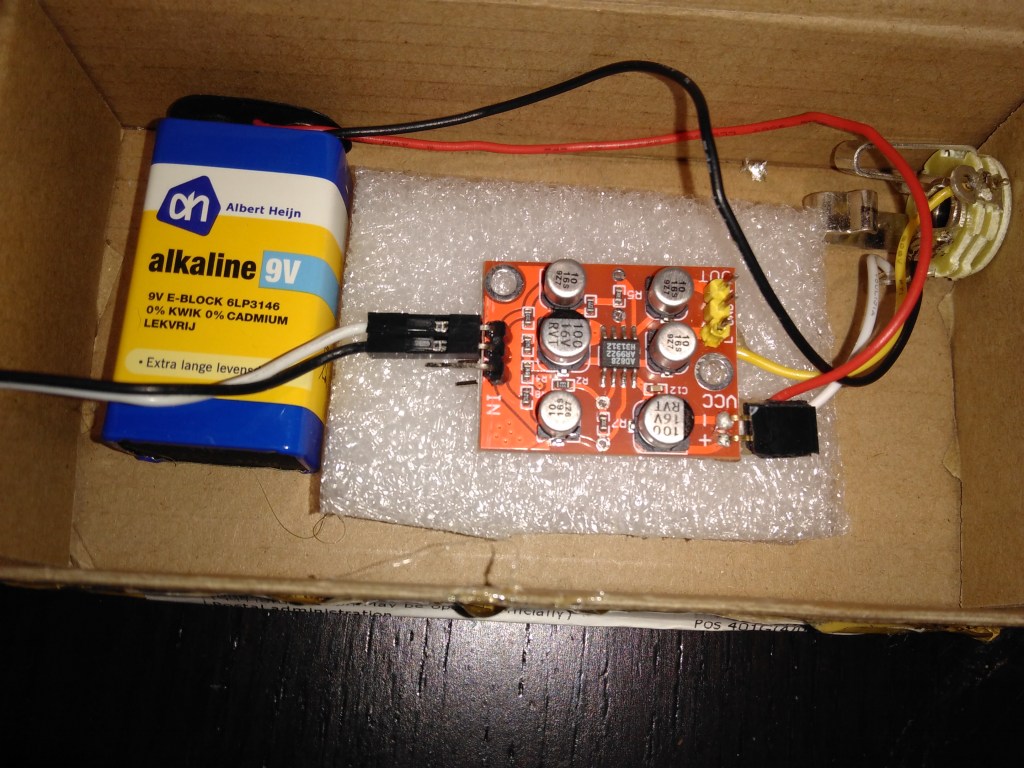
This brought me in May 2019 from Level 0 to Level A as I called it, where the difference is using a preamp (between the piezo-transducers and the input of the audio system).
I bought a number of different preamps from the other side of Eurasia.
One piezo pick-up system for acoustic guitar,
Another piezo pick-up system for violin because the register of the vibraphone is almost the same
A blue stereo one for which I haven’t manage to find a use for yet, but it’s probably made for a record player.


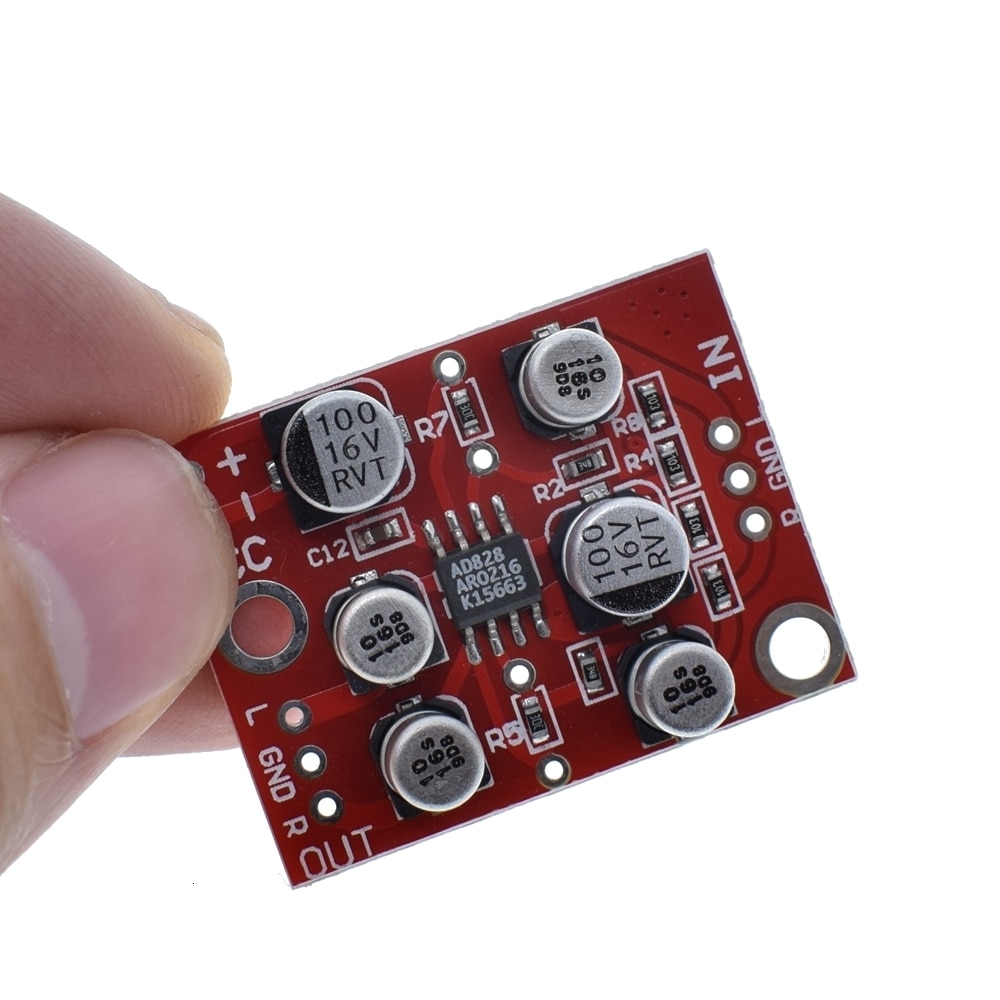
Long story short I now adopted the AD828 (it’s the name of a chip) stereo preamp board. It works great, has two channels and can be powered with different voltages, and… costs 1,30€.
After a while, I’ve learned how:
to place a piezo in wrong spots
not to use the right sticking system
to protect cables with some hot glue where they are soldered on the disc
to do it right (or almost) for every 37 keys
The preamps helped a lot and I have some recordings from using them
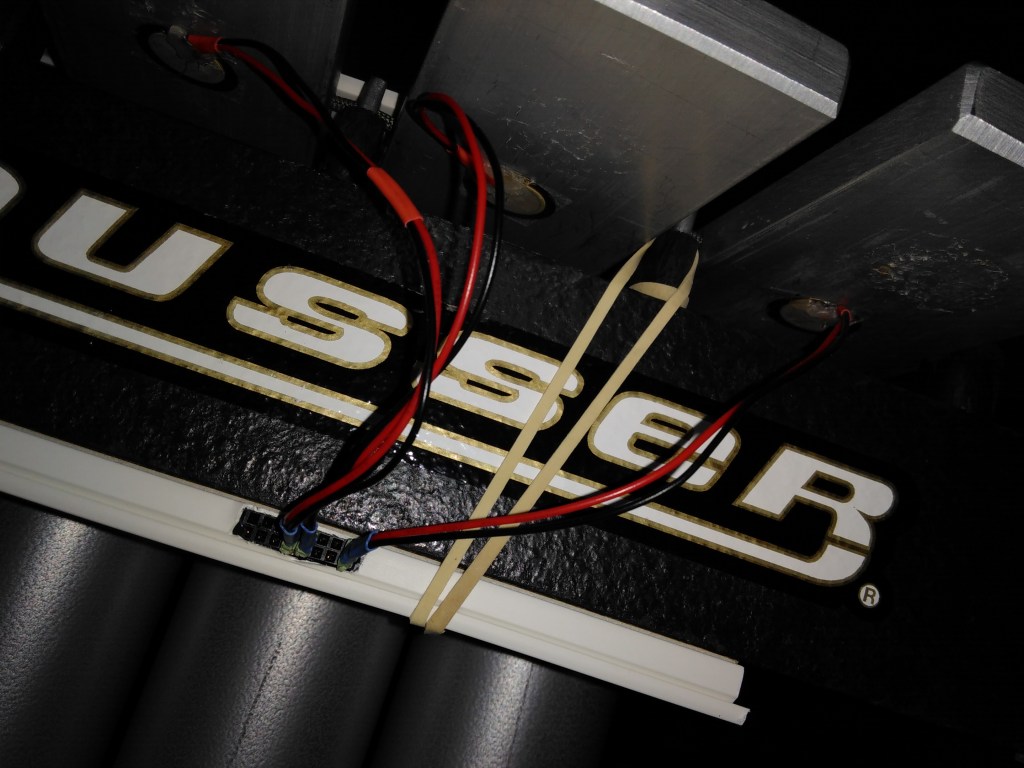
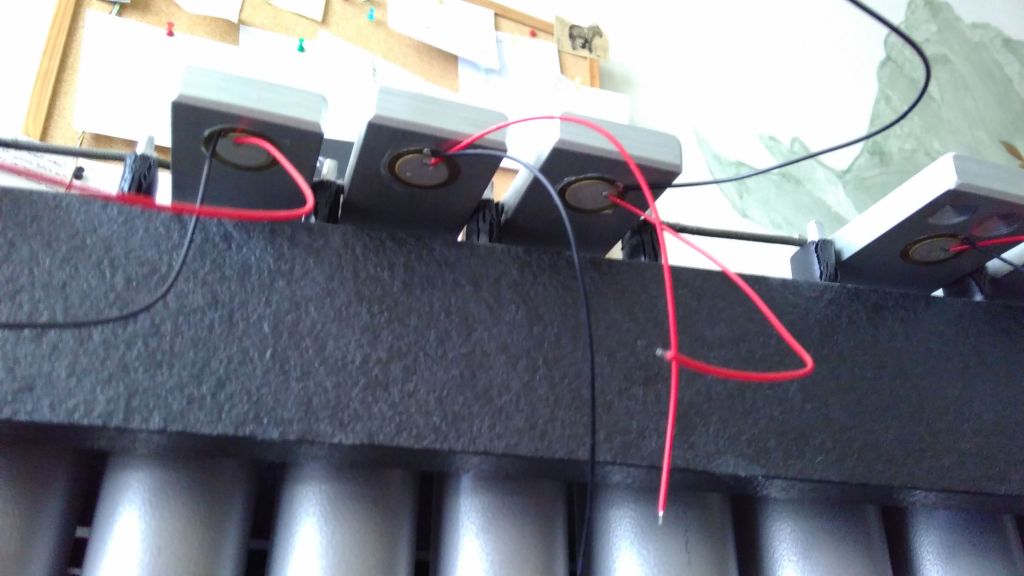
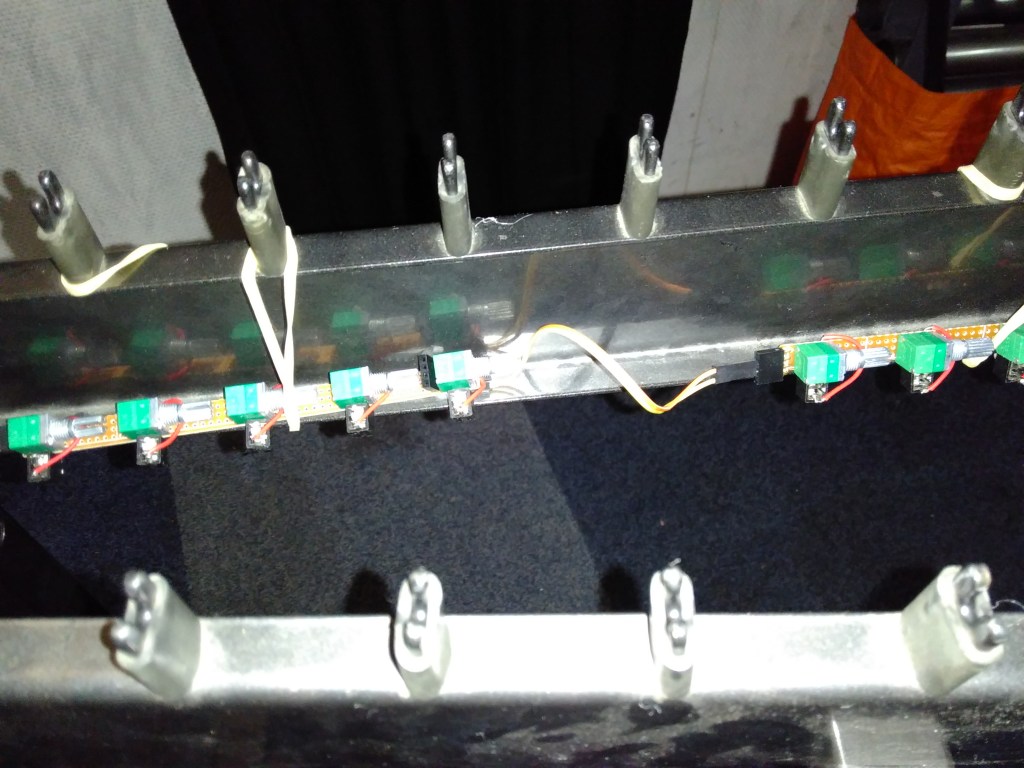
In all this time I’ve placed all the Musser vibraphone discs in the best spot (the nodal point, where the rope passes) with the double sided tape technique. At this moment I decided to only work on this keyboard for a while, because it’s the one I have at home.
I worked from the worst sound first, key after key until they all reached a good balance. This is where I dared to start the cheating and use a compressor, which would bring the louder keys back to a reasonable level that I could play musically with. This soon allowed to try more effects and make some musical experiments, which a few selected sample loaded up to soundcloud, Piezo8 playlist.
Third phase, trying to be consistent!
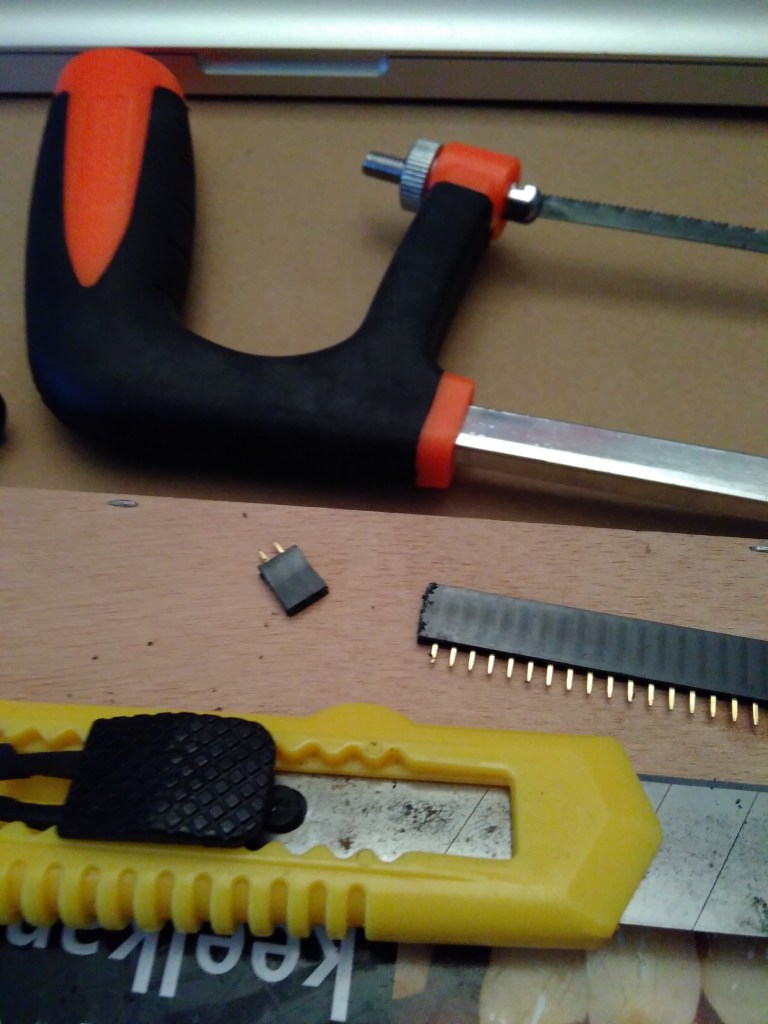
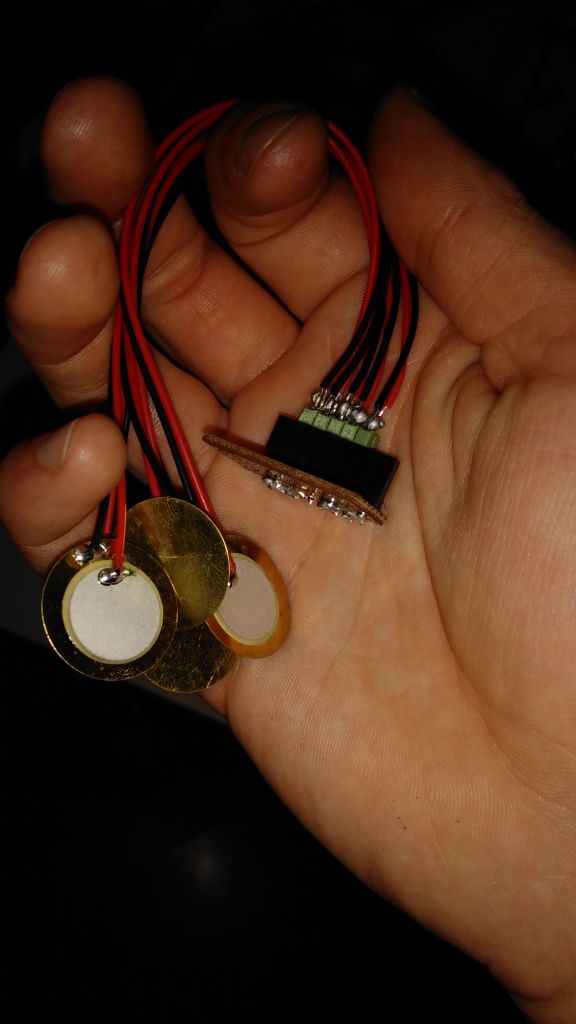
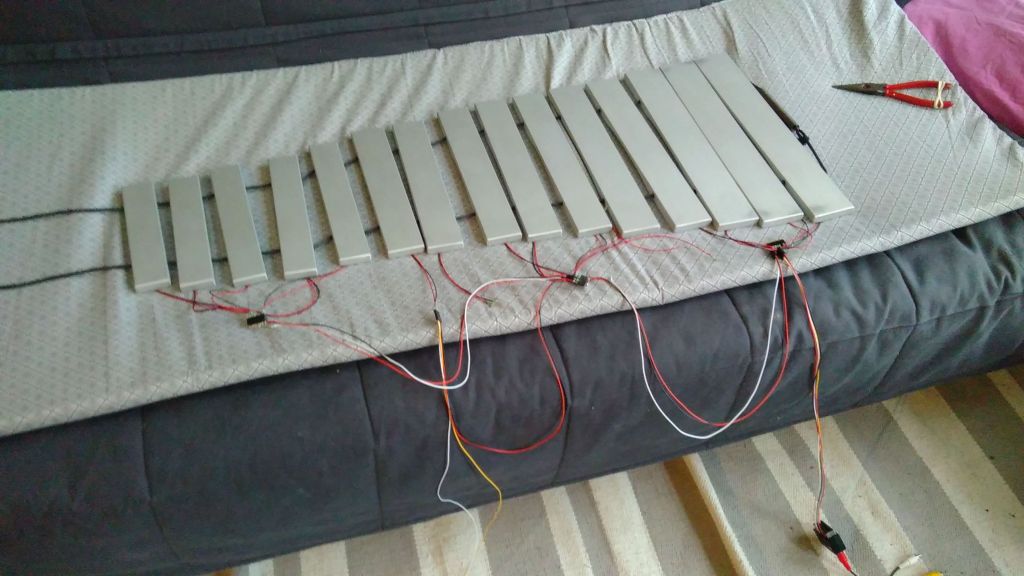
From September 2019 I had a vibraphone where each key went nicely into the mixer, with each pick-up well placed. I decided to order new, smaller piezo discs, and a new set of connectors, 2.5mm jacks this time. And last but not least, I wanted to make a prototype with a potentiometer (a volume knob) for each key in order to dim the louder keys to even out the volume over the keyboard.
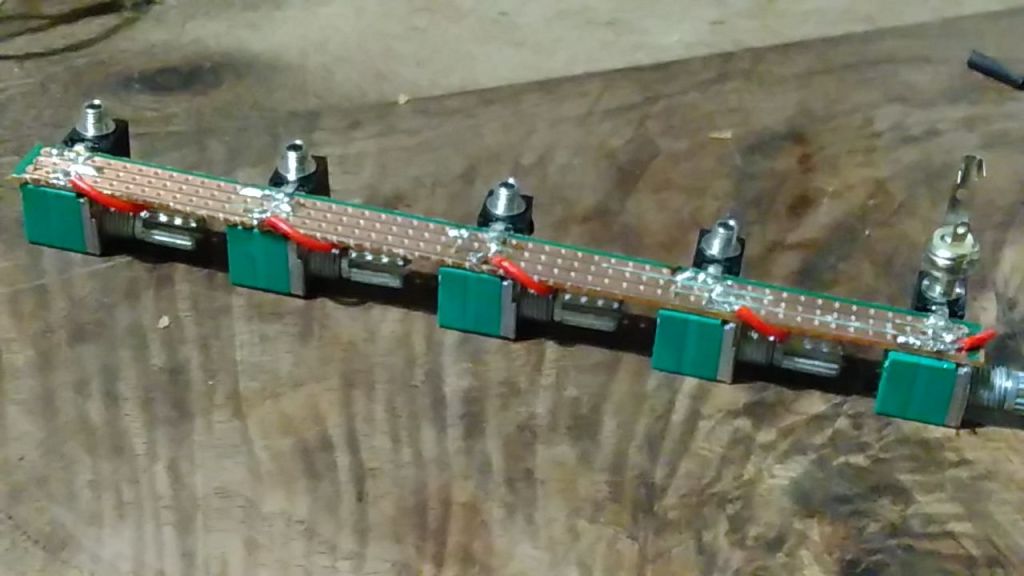
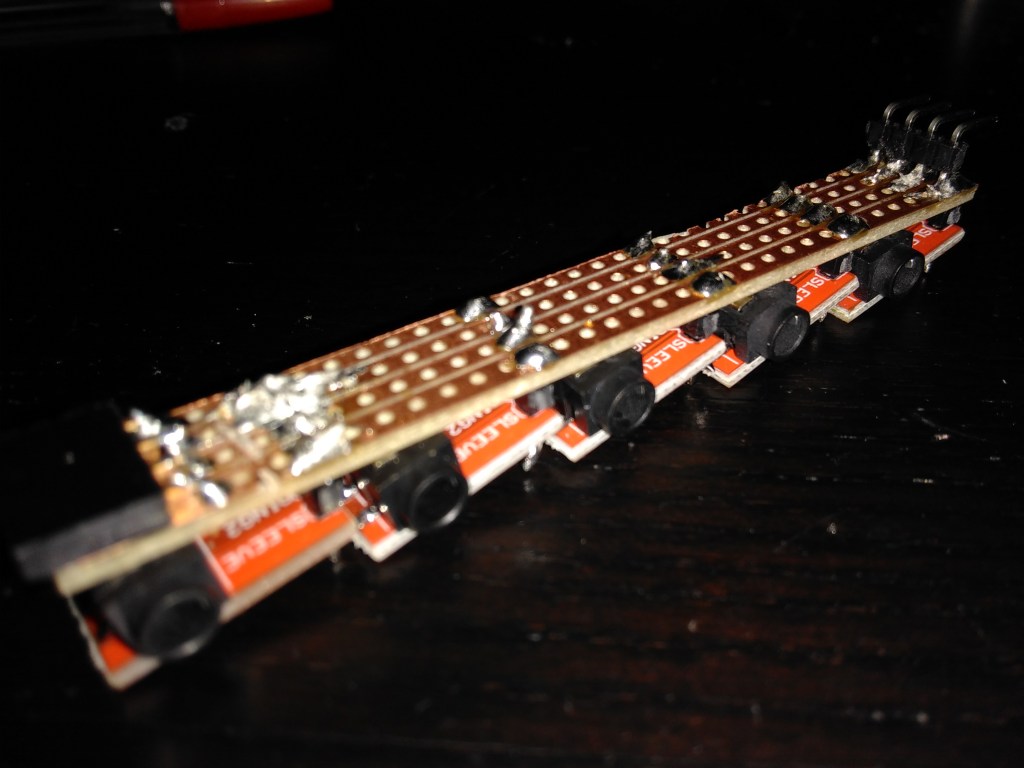
I sawed some coper boards and started to solder my little hubs with 5 connector-potentiometer per strip:
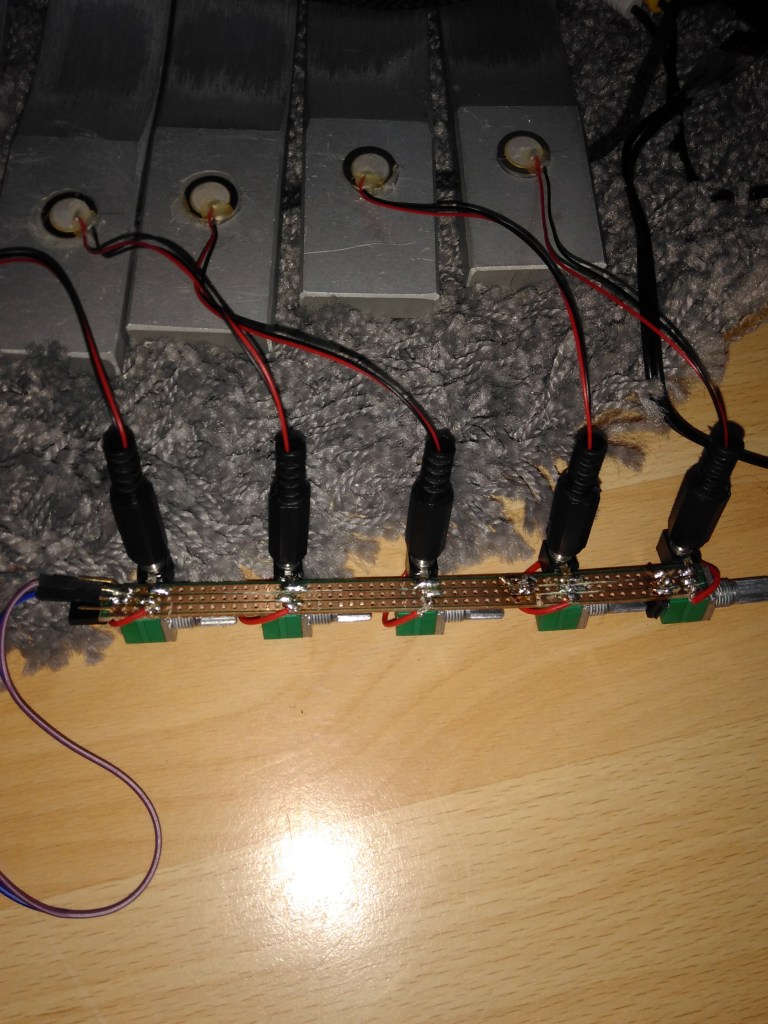
I was so proud, don’t they look pretty? The female jack connector was not quite as I thought when I purchased them but worked fine when I found out the right place to solder my red wire!
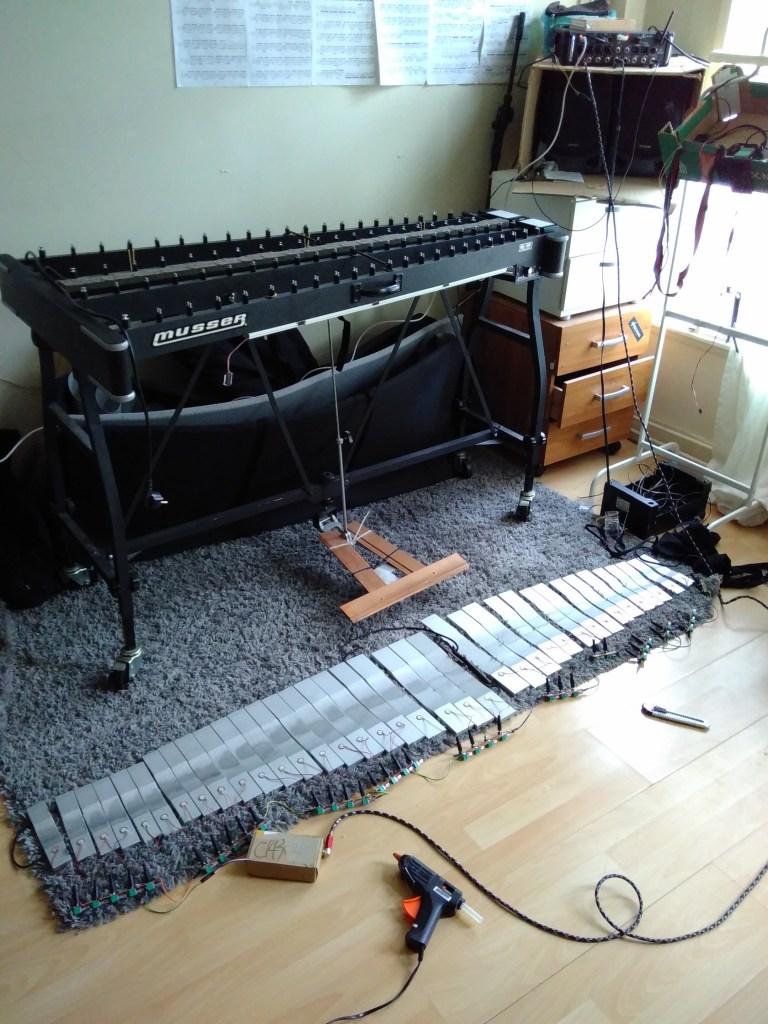
So I also fixed 40 piezo discs to the minijack connectors, and stuck them to my keys, and connected it all, and was happy getting a sound for most keys, with a good signal and all.
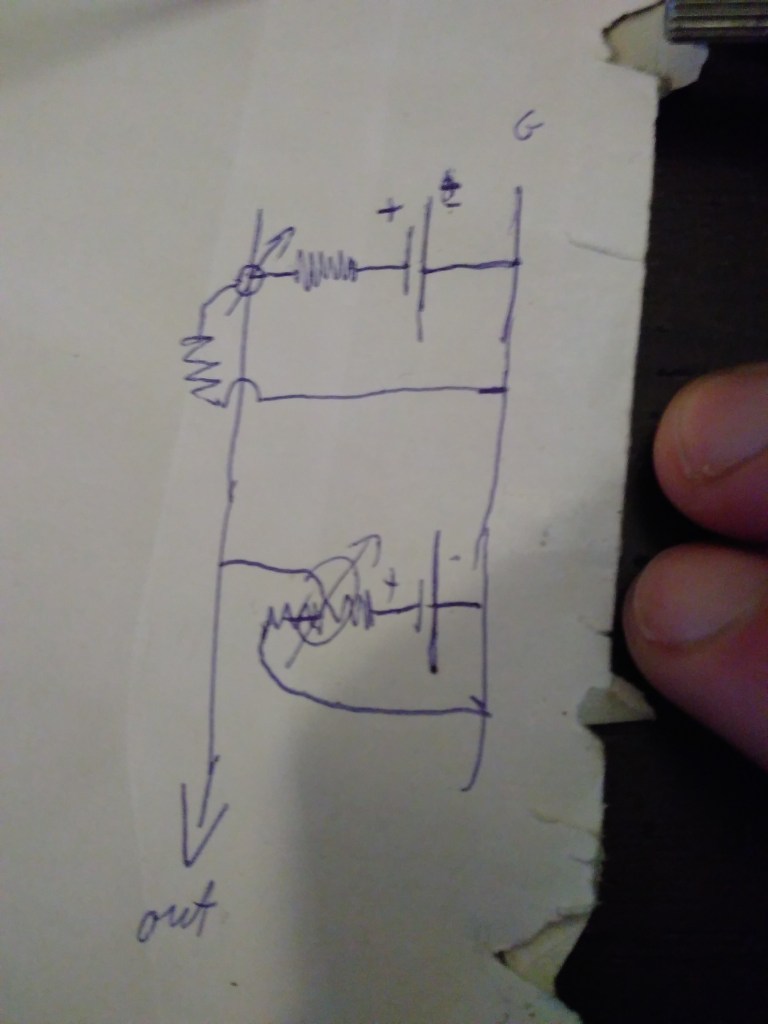
Only when I connected all the hubs together, some of them didn’t function as I expected. I took them apart and tested them, to find exactly the same results as with the ones working. I was really confused, and only after several days reflecting on it and drawing the actual circuit I soldered, did I understand that my design had a mistake.
By connecting a leg of the potentiometer to the same ground strip as the connectors, I created an resistor in the circuit for each note.
I was then able to find a sweet spot of the knobs with which each key could sound into the mix, by summing them one by one and testing continuously. If I would dim one too much, it would stop all the other pickups from working. Also, when I moved this key set back to it’s vibraphone and connected it all, it didn’t work again and I had to start again adding hubs gradually and playing with the knobs until it worked.
Another article might come one day about this whole circuit with the potentiometers and knobs story.
December 2019
I’ve recently received new potentiometers to make Level B Version 2. I’m quite confused what to do next, build that version, or write more articles, or make more of my EZpickups, or maybe edit all the sounds I recorded and add them to this article?
Thank you for reading the last paragraph, and thank you even more if you even read the whole thing. I needed to write it down in order to move on and delete some old recordings.
Feel free to leave a comment or send a message, any help is welcome (language check?).